On my most recent trip to Europe, I decided to bring my 70-200mm f/2.8 G lens in place of the smaller beercan lens. and the Samyang fisheye. With the increase in camera equipment, I didn’t want to lug around my laptop and decided to try to just make do with my iPad (original).
I picked up the iPad camera connection kit, which is pretty neat but has a few limitations.
The kit comes with two adapters. One is for SD memory cards (which my a700 doesn’t use); the other is a USB cable connector, intended for use with a USB cable that connects your camera with the adapter. The problem there is that my a700 has a proprietary USB cable, the tip of which is pretty small and easily bent, and its the sort of thing I can easily misplace in a tangle of other USB cables. I figured I’d be able to use any USB card reader instead.
I was wrong.
The first card reader I tried was a inoV8-brand card reader which I picked up in London. It’s sort of a crummy brand (the inov8 CF card I bought broke on me within weeks) but the card reader has worked well enough for me — until I tried it with the iPad connector kit. I immediately got an error message telling me that “The connected USB device requires too much power.” Crap. But I was saved by the magic of cheap Chinese engineering, in the form of a different USB card reader I had picked up for a couple bucks in the Pearl Market in Beijing (I’ll have to write up a guide to haggling in China at some point). That card reader (designated as a “Direc SR8217” if you want to look for one somewhere) worked fine. I’m willing to run the risk that the card reader is sending my intellectual property to Politburo headquarters.
So that’s the set-up for getting photos into my iPad. Once they’re in there, what do I do with them?
I already had the free Adobe Photoshop Express app, but had never been too enamored with it, so I bought Snapseed for $4.99.
Snapseed is really neat and has an incredibly intuitive interface for iPad. You select a function like “Tuning” within which are options like Brightness, Contrast, Saturation, etc., which you switch between by swiping up and down. Each setting is adjusted by swiping left and right (same as the PS Express app, but with a meter at the bottom so you know exactly how much you’ve applied). My two favorite sliders are the Ambiance slider in I’m also a big fan of the Structure setting in the Details menu – similar to Clarity in Lightroom. I think the best aspect of Snapseed is how quickly those adjustments are made — (of course, there’s a lot less versatility).
The only real drawback for Snapseed on the iPad is that I don’t think it’s processing the RAW file but the embedded JPG (it’s either that, or the file it saves just isn’t high quality enough) – and the result is that there can be some banding in the finished file.
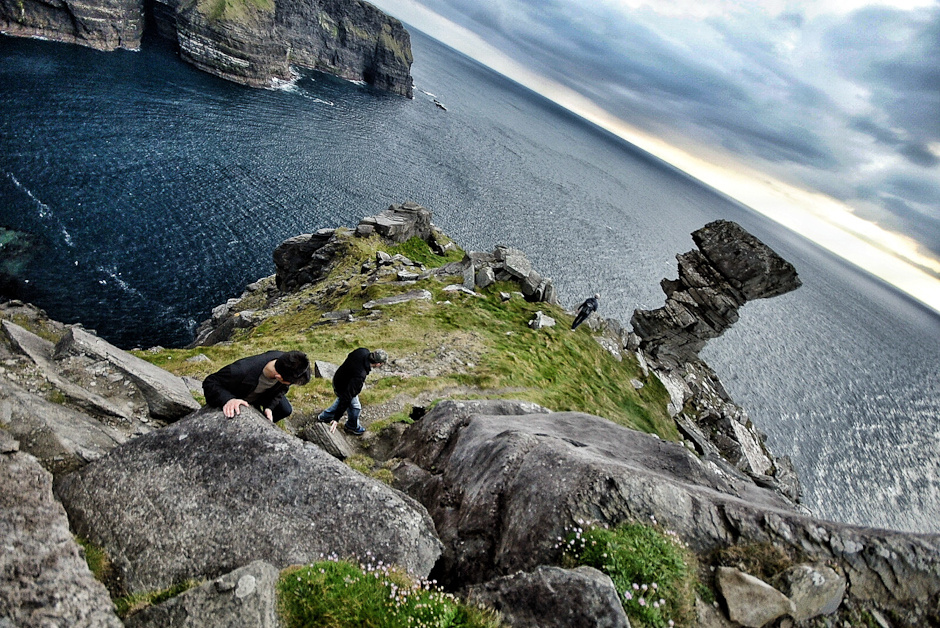
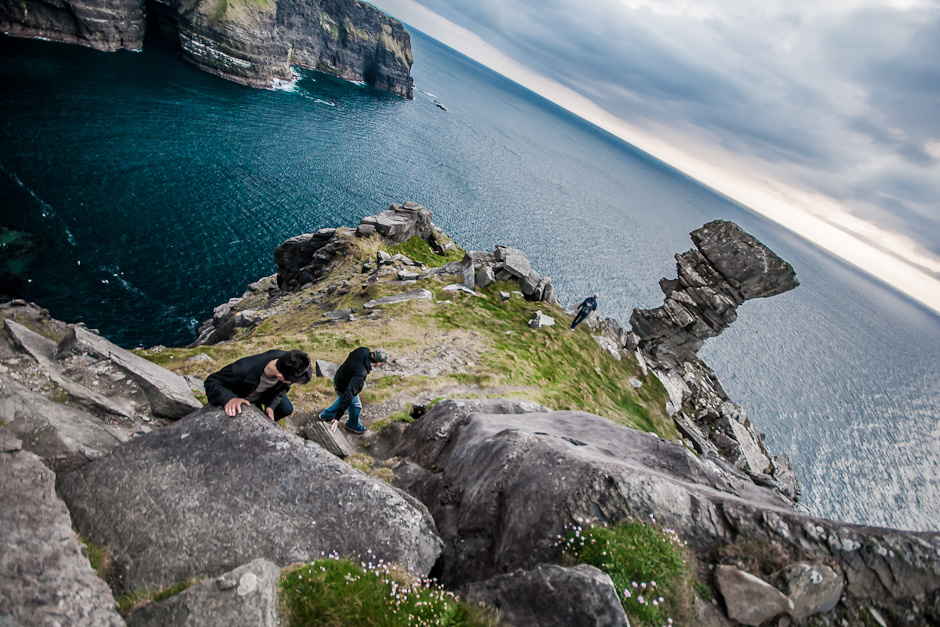
Here’s a shot I edited in Snapseed, and then edits I did in Lightroom to the corresponding RAW file.
The versatility of Lightroom comes through when trying to get better colors out of the water – I was able to get better aqua tones through the HSL sliders in Lightroom, something I wouldn’t really be able to do with Snapseed. But I think Snapseed has the edge with the Structure slider, bringing out the detail in the rocks much better than Lightroom can, even with Clarity at 100 as it is here.
One thing that surprises me is that there’s no simple vignette function on Snapseed. The Vintage function can apply selective blur, so it seems like a simple functionality to add. Maybe in the future.

